Achieve a Perfect Blowout Every Time with These 8 Easy Steps
A good blowout is a craft – it involves the correct tools, technique and organisation. And while we would love to visit our favourite salon every week, with inflation and labour shortages, it’s not always an affordable or convenient option. A DIY blowout can be intimidating, often resulting in tired arms, tugging of hair and heat damage – but we’re hair to help.
We have a step-by-step process for creating your professional blowout – at home.
Step One: Shampoo & Condition
Starting with freshly washed hair is key to any good blowout. Start with shampooing – really get into your scalp to release product buildup. Rinse and repeat, always. If you’re an avid user of dry shampoo or hair wax, spray or gel, we recommend using the Christophe Robin Purifying Scrub with Sea Salt to help cleanse the hair of product.
Slightly dry your hair in a towel; this allows maximum conditioner impact. Apply conditioner to the length of your hair, sparing your roots. Leave this to marinate for 5-10 minutes (or as advised by your conditioner) and rinse. If you tend to have frizzy hair, use a wide-tooth comb to detangle hair while you have conditioner in it.
Step Two: Hair Prep
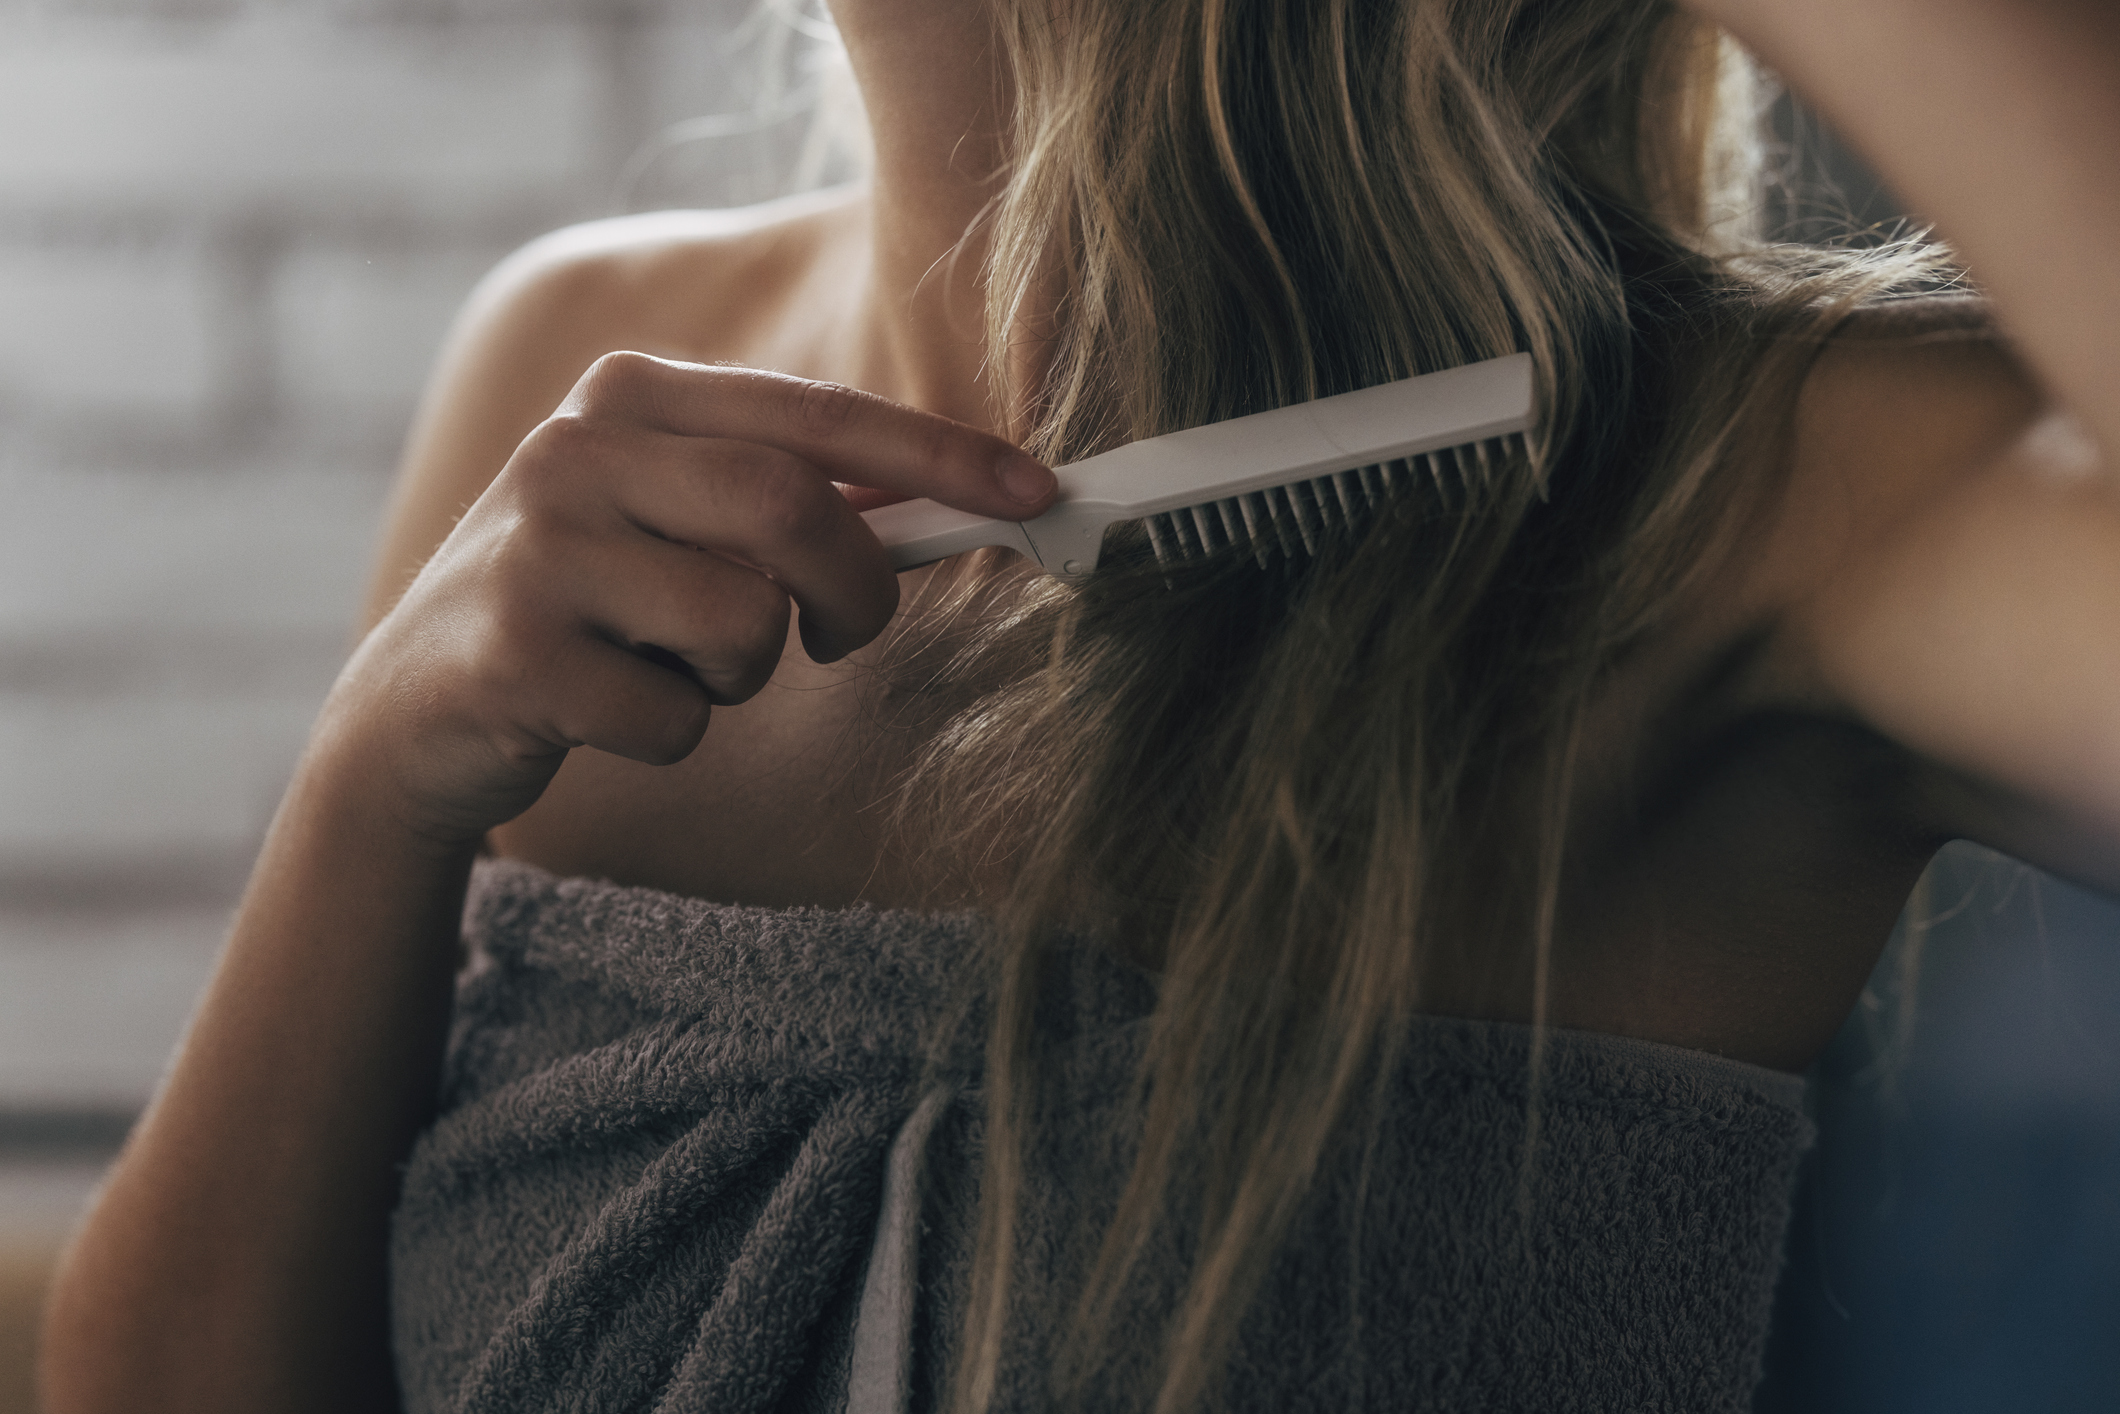
After hopping out of the shower, you’ll need to remove excess water from your hair – wrap your hair in a microfibre towel or turban and press out the moisture, don’t rub it. If you didn’t comb your hair in the shower, gently comb it now. Start from the top and work your way down until your hair is knot free. Lock in moisture and give your hair grip by applying a lightweight styling cream – less is more, so use it sparingly and rub it between your palms before applying it to the ends of your hair.
Step Three: Heat Protectant
Heat protectant is a tempting step to skip; however, it’s one of the essential parts of this process. Without it, exposing your hair to high temperatures can damage it permanently, leading to dry, brittle hair and split ends. Oribe’s Royal Blowout Heat Styling Spray is our top pick; it offers thermal protection, UV protection and nourishing rosehip oil to keep your hair in prime condition.
Step Four: The Golden Spot
Getting your hair to be 60-70% dry is the golden spot to begin your blowout – use your hair dryer on a low setting until it reaches this dampness.
Step Five: It’s Tool Time
Every blowout tradie knows you need two tools to get the job done.
- A narrow round brush (preferably long if you have lots of hair)
- A blow drier with a concentrated styling nozzle
Step Six: Section
Section your hair – starting with the middle part, then divide your hair into four; two at the front, two at the back. Hold these with clips.
Step Seven: The Hard Part
Disclaimer: This requires patience, especially if you’re a beginner!
Work through each section starting from the back, and give it a quick comb to ensure it’s knot-free. Place your brush under the hair section as close to the root as possible and drag it down your hair length, pulling it taut by twisting it.
As your pulling down, in your other hand, blow dry the entire length of hair, following the brush. You want to do this slowly, so the hair dries into place. Finish it off with a cold blast to lock the hair in position. Right at the end of the hair section, curl the hairbrush around your hair slightly, pull it down, and curl back up – this gives your hair the salon bounce.
Patiently continue this process with each section of hair. On the sections near the top of your head (and shaping your face), instead of placing your brush on the underside, place it on the outer side (facing the ceiling), and work this section the opposite way – this creates lift and fullness.
A good blowout takes practice, but practice makes perfect.
Take it slow, and focus on curling your brush around your hair in half rotations so you don’t end up with a tangled bird’s nest.
And lastly, ensure those ends are bone dry – or else all your hard work will lose shape quickly.
Step Eight: Finishing Touches
Depending on your hair type, lock in moisture and add shine with a lightweight hair oil, serum or cream. Always rub into your palms first, and then apply to your roots.